Upgrade a Basic DNS-zone to a Premium DNS-zone
Login to the portal and go to DNS > Zones
- 1
- Lookup the Basic DNS-zone you wish to upgrade to a Premium DNS-zone for and click on it to open the Basic DNS-zone detail page.


- 2
- Click create template to go to the Create DNS-template overview page

Important
In case the Create template option is not available on the Basic DNS zone overview page, there's already a DNS-template active for the Basic DNS-zone you're looking at. Use that DNS-template to follow the instructions below and create a Premium DNS-zone based on the already existing DNS-template.
- 3
- Click Create and go back to detail page to create the DNS-template

Important
If required, you can always add or remove records from the to be created DNS-template or update the SOA-record settings. For more information on adding records or changing the SOA-record. Click on any of the options in the table below for information on formatting the records to add to the to be created DNS-template
| Customize SOA-record | Instructions on customizing the SOA-record
|
| Add an A-record | Instructions on adding an A-record
|
| Add an MX-record
|
Instructions on adding an MX-record
|
| Add a CNAME-record
|
Instructions on adding a CNAME-record |
| Add an AAA-record
|
Instructions on adding an AAA-record |
| Add a URL-record | Instructions on adding an URL-record
|
| Add a MBOXFW-record
|
Instructions on adding an MBOXFW record
|
| Add an HINFO-record
|
Instructions on adding an HINFO-record |
| Add a NAPTR-record
|
Instructions on adding an NAPTR-record |
| Add an NS-record
|
Instructions on adding an NS-record |
| Add an SRV-record
|
Instructions on adding an SRV-record |
| Add a CAA-record
|
Instructions on adding an CAA-record |
| Add a TLSA-record
|
Instructions on adding a TLSA-record |
| Add a TXT-record
|
Instructions on adding a TXT-record |
| Add an ALIAS-record
|
Instructions on adding an ALIAS record |
| Add a DNSKEY-record
|
Instructions on adding a DNSKEY-record |
| Add a CERT-record
|
Instructions on adding a CERT-record |
| Add a DS-record
|
Instructions on adding an DS-record |
| Add a LOC-record
|
Instructions on adding a LOC-record |
| Add a SSHFP-record
|
Instructions on adding a SSHFP-record |
| Add an URI-record
|
Instructions on adding an URI-record |
- 4
- A message indicating the DNS-template has been created successfully will be displayed

- 5
- Now you're going to create a new Premium DNS-zone based on the DNS-template you've just created based on the Basic DNS-zone. Click this link to go to the zone creation page in our portal and click the Premium DNS option to create a new Premium DNS-zone


- 6
- Submit the domain your creating the DNS-zone for and select whether to setup automatic DNSSEC provisioning & use Vanity nameservers for the DNS-zone you're about to create
Important
When you opt to use Vanity nameservers, make sure the Vanity nameservers are setup correctly, otherwise the domain you connect the zone to might not resolve as expected. For instructions on how to configure Vanity namservers to use for a Premium DNS-zone using the Realtime Register premium DNS-services, go to the Setup Vanity nameservers for Premium DNS-zones knowledge base article

- 7
- Select the Template option to use for the creation of the Premium DNS-zone.
Important
Make sure you select the DNS-template you created above based on the Basic DNS-zone you wish to upgrade to a Premium DNS-zone to use for adding DNS-records to the new to be created Premium DNS-zone.

- 8
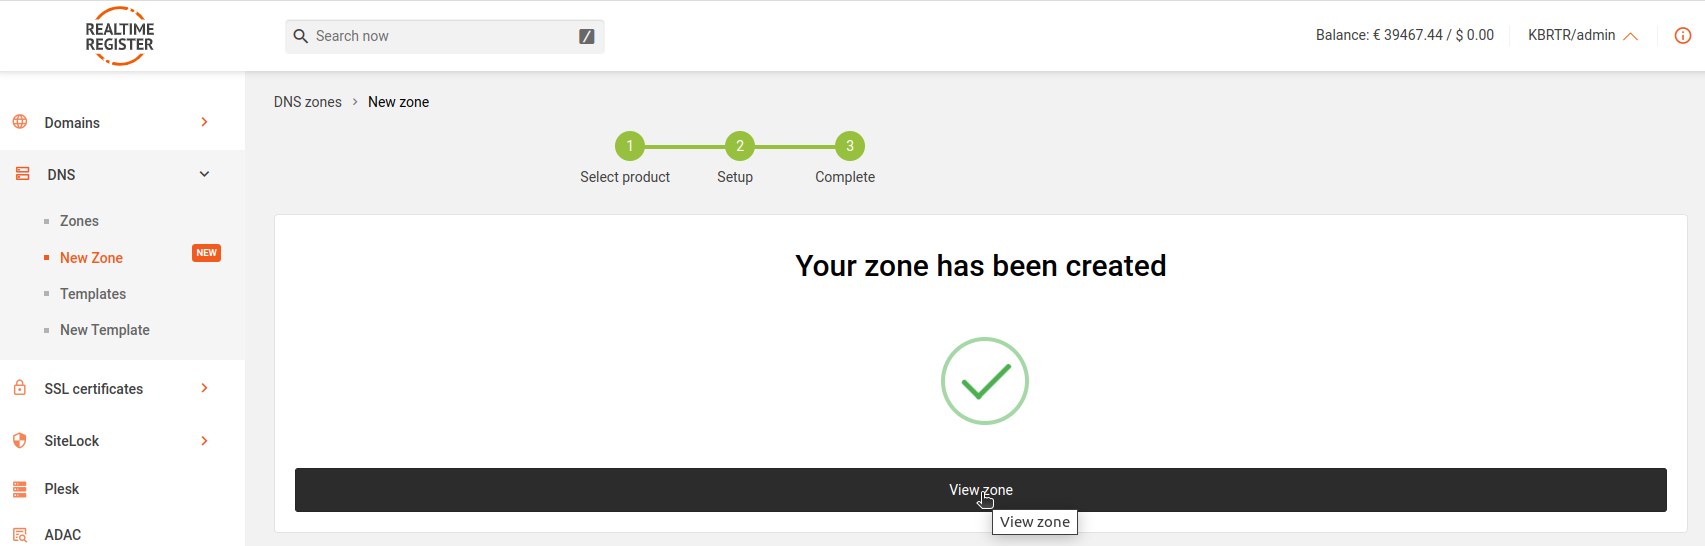
- Once you've configured the zone as required, click Complete to create the Premium DNS-zone


Important
To use the newly created Premium DNS-zone, update the domain you wish to use the Premium DNS-zone for to the newly created DNS-zone and you're all set. For more information on updating the domain to the newly created premium DNS-zone, go to the Update a domain to a Premium DNS-zone knowledge base article.
Make sure to opt for the 'Existing Premium DNS-zone option' at step 3 of the Update a domain to a Premium DNS-zone knowledge base article, this will autonmatically select the Premium DNS-zone you created above to be set during the domain update.