Create a Premium DNS-zone
Login to the portal and go to DNS > New zone
To create a Premium DNS-zone in your Realtime Register account, follow the instruction below.
- 1
- To create a new Premium DNS-zone, click Premium DNS


- 2
- Submit the domain your creating the DNS-zone for and select whether to setup automatic DNSSEC provisioning & use Vanity nameservers for the DNS-zone you're about to create
Important
When you opt to use Vanity nameservers, make sure the Vanity nameservers are setup correctly, otherwise the domain you connect the zone to might not resolve as expected. For instructions on how to configure Vanity namservers to use for a Premium DNS-zone using the Realtime Register premium DNS-services, go to the Setup Vanity nameservers for Premium DNS-zones knowledge base article

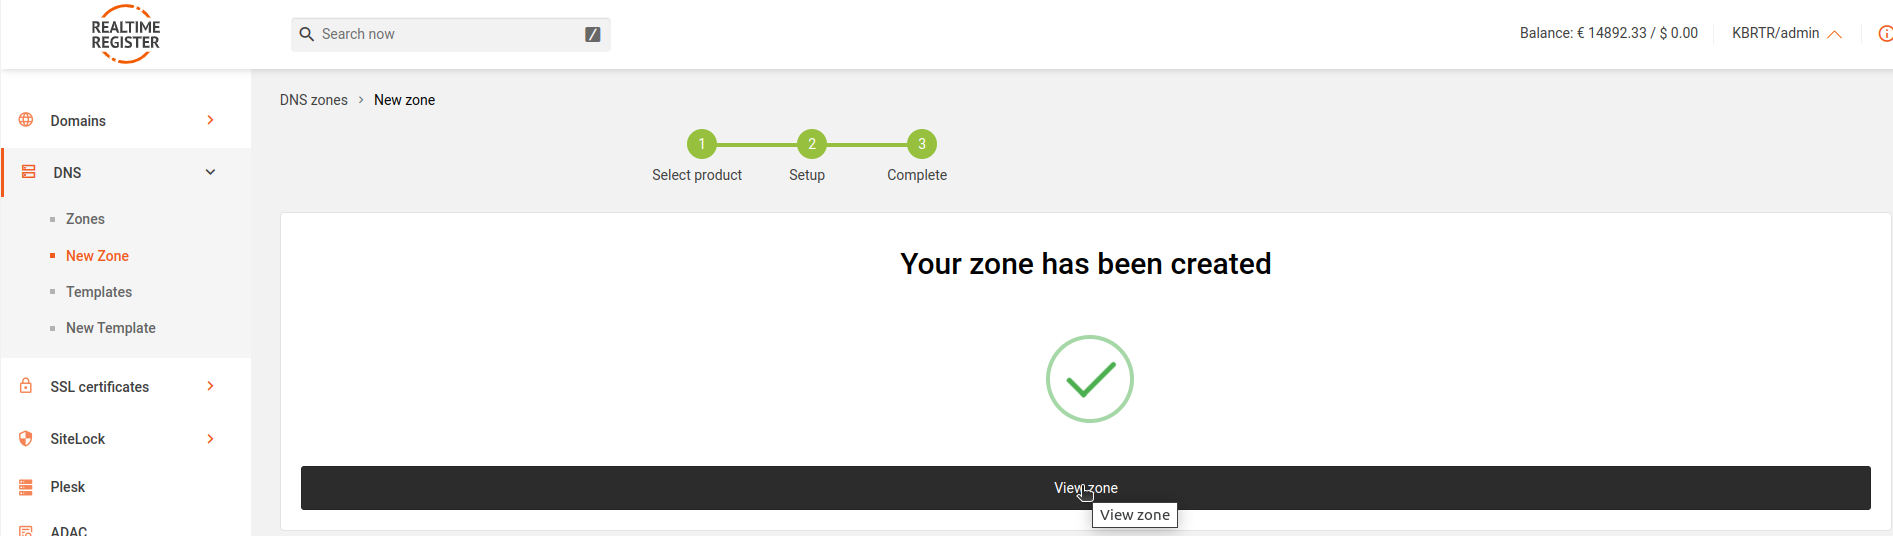
- 3
- Select a method to use for adding DNS-records to the zone. You can use a pre-filled DNS-template, submit records one by one, or submit a master IP-adress the zone will be based upon
Important
The Vanity nameserver option can't be used when creating the zone records based on a zone Master IP-address. Vanity nameservers are only available when creating a Premium DNS-zone based on a DNS-template or configuring records on the spot when creating the Premium DNS-zone.
Template option
Select a DNS-template to use that fills the DNS-zone with it's contents

Records option
Define the SOA-record and add DNS-records as required by clicking + Add record and select and configure the DNS-records manually. For instructions on how to configure the SOA-record and format DNS-records in our portal in order to add them to the zone, click on any of the corresponding records in the table below the image to navigate to the KB-article with specific instructions per SOA/DNS-record

| Customize SOA-record | Instructions on customizing the SOA-record
|
| Add an A-record | Instructions on adding an A-record
|
| Add an MX-record
|
Instructions on adding an MX-record
|
| Add a CNAME-record
|
Instructions on adding a CNAME-record |
| Add an AAA-record
|
Instructions on adding an AAA-record |
| Add a URL-record | Instructions on adding an URL-record
|
| Add a MBOXFW-record
|
Instructions on adding an MBOXFW record
|
| Add an HINFO-record
|
Instructions on adding an HINFO-record |
| Add a NAPTR-record
|
Instructions on adding an NAPTR-record |
| Add an NS-record
|
Instructions on adding an NS-record |
| Add an SRV-record
|
Instructions on adding an SRV-record |
| Add a CAA-record
|
Instructions on adding an CAA-record |
| Add a TLSA-record
|
Instructions on adding a TLSA-record |
| Add a TXT-record
|
Instructions on adding a TXT-record |
| Add an ALIAS-record
|
Instructions on adding an ALIAS record |
| Add a DNSKEY-record
|
Instructions on adding a DNSKEY-record |
| Add a CERT-record
|
Instructions on adding a CERT-record |
| Add a DS-record
|
Instructions on adding an DS-record |
| Add a LOC-record
|
Instructions on adding a LOC-record |
| Add a SSHFP-record
|
Instructions on adding a SSHFP-record |
| Add an URI-record
|
Instructions on adding an URI-record |
Master option
Provide the IP-address of the Master in the input field to import DNS-records for this zone based upon the Master NS IP-address

- 4
- Once you've configured the zone as required, click Complete to create the Premium DNS-zone