Customize Internal transfer approval (new) email
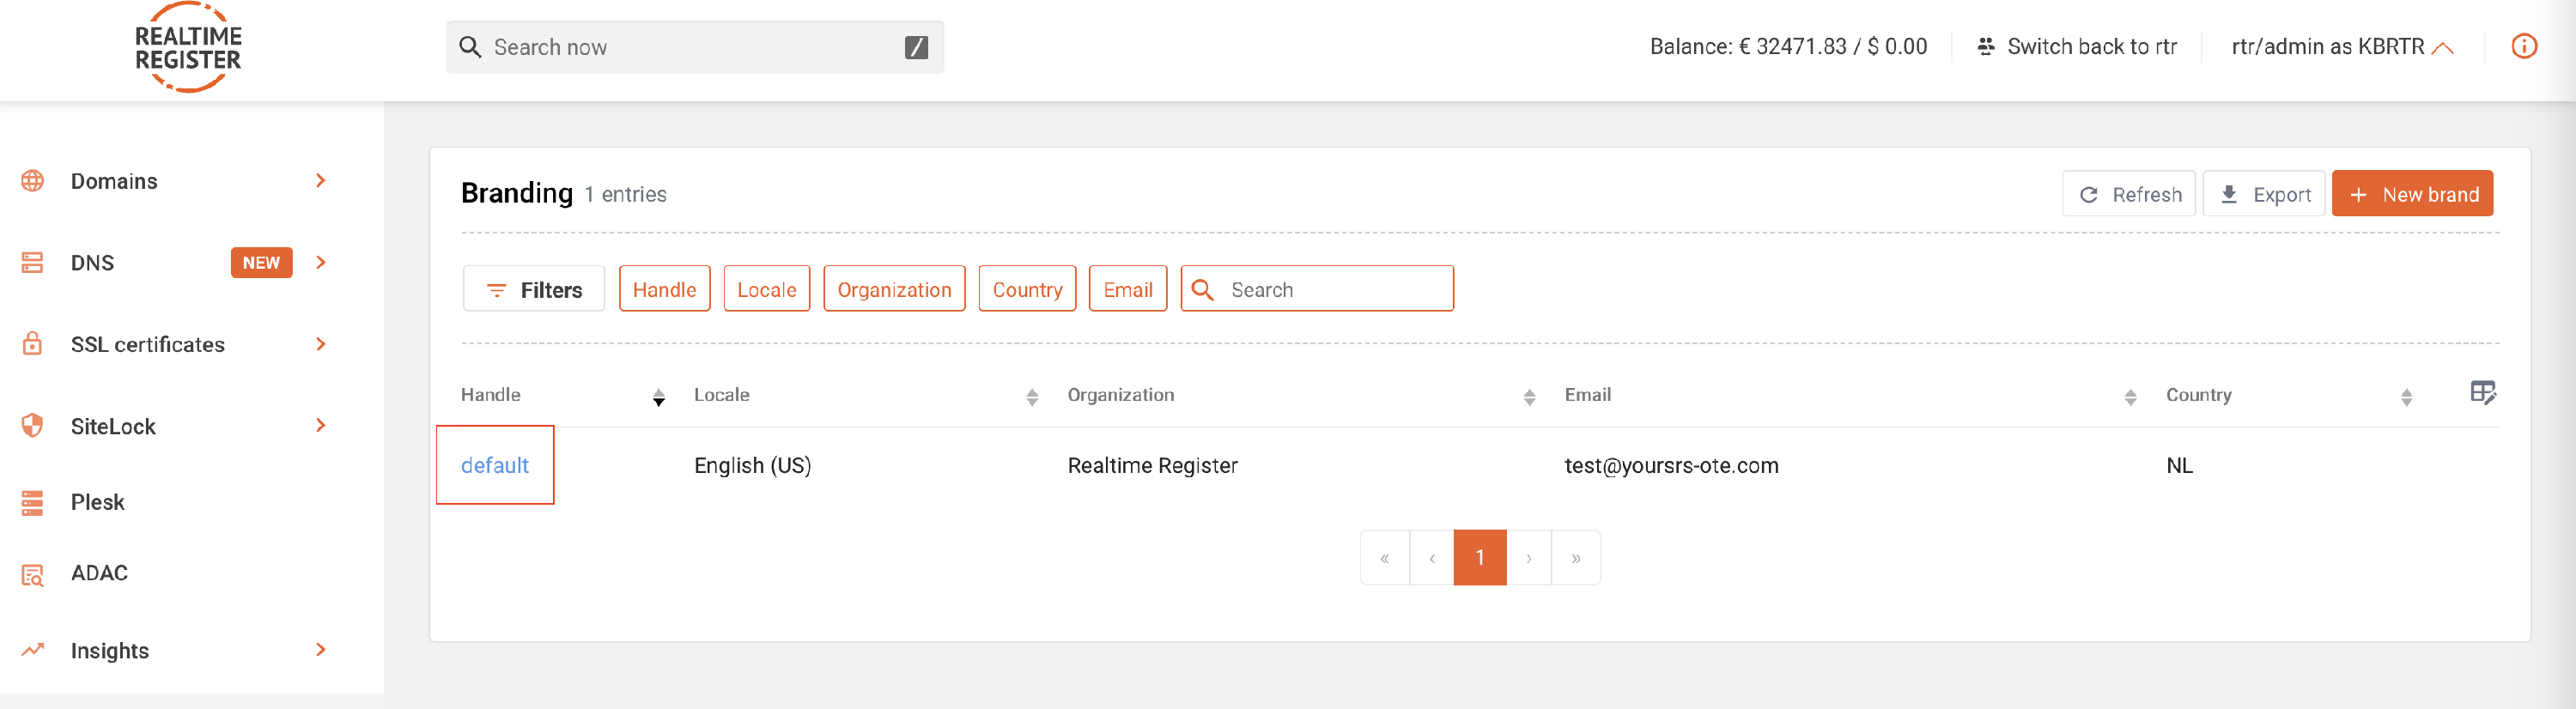
Login to the portal and go to Account > Branding
ℹ️ Note
The internal transfer approval (new) email is sent to the gaining registrant when a transfer between Realtime Register resellers is requested. The email contains a link to the internal transfer approval (new) page where the gaining registrant can approve the transfer request.
The internal transfer approval (new) email is sent to the gaining registrant when a transfer between Realtime Register resellers is requested. The email contains a link to the internal transfer approval (new) page where the gaining registrant can approve the transfer request.
To customize the internal transfer approval (new) email through the portal, follow the steps below.
⚠️ Important
None of the default text in this email can be changed. Registry policies require registrants to receive a fixed set of information in the internal transfer approval (new) email.
Advice on email content
Since the default content cannot be modified, it is recommended to add explanatory text alongside the default text provided by our branding system. In the explanatory text, describe why the internal transfer approval (new) email is sent to the gaining registrant. The explanatory text may differ from the language configured in the brand settings.
- 1
- Select the brand you wish to make changes for and open the internal transfer approval (new) email template by clicking on the edit button.

- 2
- On the internal transfer approval (new) email template detail page, you can apply the required customizations.

⚠️ Important
The emails are available as both text-only and HTML email. If you want registrants to receive text-only email, keep the HTML version empty. If you want to communicate using HTML email, complete both the text version and the HTML version.
The emails are available as both text-only and HTML email. If you want registrants to receive text-only email, keep the HTML version empty. If you want to communicate using HTML email, complete both the text version and the HTML version.
- 3
- The default content of the internal transfer approval (new) email cannot be modified. Add explanatory text alongside the default text provided by our branding system explaining why the gaining registrant receives the internal transfer approval (new) email.

- 4
- The update preview button allows you to preview the submitted changes to the internal transfer approval (new) email template on the right side of the screen.


- 5
- To add an image to the internal transfer approval (new) email, see the ➤ Add images to email templates KB-article.
- 6
- Once you've made all the necessary changes, click update template to save the internal transfer approval (new) email template. A confirmation message will be displayed when the update has completed.


- 7
- You've now successfully customized the internal transfer approval (new) email.