WHMCS README-file / Installation instructions
Important: Read the full README prior to installation to gain a full understanding of the functionality our module has to offer. After reading the full README, you'll be able to determine which parts are relevant to your needs.
Readme
- Installation
- Cron script configuration
- Additional information
- Getting started with the Addons
- Known Issues
Installation
Registrar modules
- Copy
modules/registrars/realtimeregisterto<whmcs root directory>/modules/registrars/realtimeregister - Go to
Setup -> Products/Services -> Domain Registrarsand activateRealtime Register module - Go to the configuration of the registrar module and enter your RTR account credentials. Optionally configure other settings within the module.
For correct functionality of our WHMCS module, activating the realtimeregister_tools addon modules is required. Do not skip this step, otherwise full functionality of our WHMCS module cannot be guaranteed.
realtimeregister_tools:
- Copy
modules/addons/realtimeregister_toolsto<whmcs root directory>/modules/addons/realtimeregister_tools - Go to
Setup -> Addon Modulesand activateRealtimeregister tools - Setup the right Access Control
Additional domain fields
Some TLD's require additional information for domain registrants. To this end, we included a modified additionalfields.php file, specifically customized for use with Realtime Register. Please copy the file to <whmcs root directory>/resources/domains.
As of version 1.1.6 of the module, additional domain fields are automatically generated from RTR metadata. A language file is included for the additional fields in the lang directory. You can override these language strings to customize the field names and descriptions. See https://developers.whmcs.com/languages/overrides/ for more information.
When new TLD's are added, new language strings need to be added as well. To this end, a script is included: cron/update_additional_fields.php. This script generates a new and up-to-date language file for the additional fields and can be run manually or via a scheduling mechanism.
Field language override
https://kb.realtimeregister.com/article/163-whmcs-additional-fields-language-overrides
Enable privacy protect
- Go to
Setup -> Products/Services -> Domain Registrarsand click onRealtime Register -> configure - Under
General settingsyou see a checkbox Privacy Protection. When you tick the checkbox and save the settings, Privacy Protection will be enabled by default for all supported extensions. Please note this does not apply to all your existing domains, only new registration, and transfers. - If you choose to enable privacy protect by default, please make sure that ID protection is enabled at domains pricing.
Autorenew
If you have .NL and .DE domains with a period shorter than 12 months, please keep auto_renew on "TRUE".
Lookup Provider
- Go to
configdomains.phpand set up the Lookup Provider. - Select
Domain Registrarand chooseRealtimeregisteras registrar - If you have enabled
premium domainsthe lookup automatically will change the price for premium domains
When experiencing issues with the domain check, please make sure you can telnet from your command line interface with;
telnet is.yoursrs-ote.com 2001 (Testing environment)
telnet is.yoursrs.com 2001 (Production)
Make sure the telnet port is open( port 2001 ) and also make sure port 43 is open for WHOIS calls.
ADAC
Config:
1. Make sure you have an ADAC account on Realtime Register. (if you don't have an ADAC account, please contact our sales or support department to activate ADAC.)
2. Go to Setup -> Products/Services -> Domain Registrars and click on Realtime Register -> configure
3. Look for ADAC and fill in the fields "TLD set token" and "API key" which you can find in your ADAC account.
4. Setup your template
Option 1: If you are using the default 'Standard Cart' template, you have the option to change the ordering template to Realtime Registers template. This template is based on the 'Standard Cart'. Go to Setup -> General Settings press the tab Ordering and select under Default Order Form Template the template Realtimeregister
Option 2: If you are using an other template please add the HTML below to the template file domainregister.tpl.
Template include:
{include file="../../../modules/registrars/realtimeregister/resources/views/adac.tpl"}
When experiencing issues with the domain check, please make sure you can telnet from your command line interface with;
telnet is.yoursrs-ote.com 2001 (Testing environment)
telnet is.yoursrs.com 2001 (Production)
Make sure the telnet port is open( port 2001 ) and also make sure port 43 is open for WHOIS calls.
WHMCS update
Important! After updating WHMCS to new version you need to reinstall module.
Cron script configuration
From version 0.70 cron script removed and all synchronization moved to WHMCS sync functions. You can remove old cron instructions in your server.
Additional information
- In order to set default Auto Renew value (either ON or OFF) for new domains inside WHMCS go to
Setup -> General Settings -> Domains(tab) and tick/untick checkbox next toDefault Auto Renewal Setting. - In order to use RTR WHOIS service over WHMCS WHOIS services for client portal domain checker, turn on
Use Realtimeregister WHOISinside module configuration.It used to be necessary to use a custom template, or custom variables in your own template. Since v0.68 of this module, this is no longer the case. Enabling the RTR WHOIS service in the configuration is all that is needed.
Custom hooks
In order to use custom hooks you have to generate a new file called: 'modules/registrars/realtimeregister/customhooks.php' You can use the template below.
<p><?php
/**
 * Available hooks
 *
 * Renew
 *  realtimeregister_before_RenewDomain
 *  realtimeregister_after_RenewDomain
 * Sync
 *  realtimeregister_before_Sync
 *  realtimeregister_after_Sync
 */

/**
 * @param $params WHMCS params
 * @return mixed
 */
function realtimeregister_before_RenewDomain($params)
{
    return $params;
}

/**
 * Information after the domain renew
 *
 * @param $params
 * @param $renewInfo
 */
function realtimeregister_after_RenewDomain($params, $renewInfo)
{
}

/**
 * @param $params WHMCS params
 * @param $values
 * @param $metadata metadata information of the TLD
 * @param $info Domain info of the domain that is beeing synced
 * @return mixed
 */
function realtimeregister_before_Sync($params, $values, $metadata, $info)
{
    return $values;
}

/**
 * Last step of the _Sync hook
 *
 * @param $params WHMCS params
 * @param $values
 * @return mixed
 */
function realtimeregister_after_Sync($params, $values)
{
    return $values;
}
</p>
Pricing import/sync
- Navigate to 'Utilities' -> 'Registrar TLD sync'.

- Click 'Realtime Register'

- Configure the TLD's you wish to import pricing for or 'auto select TLD's associated with registrar' and click 'Import TLD's'

- TLD prices have now been successfully imported.
Getting started with the Addons.
Navigate to Addons -> Realtimeregister domain tools

Import domains
- Click 'Import domains'

- Select if you wish to import all domains or specify a list of domains you wish to import. Select your brand import method, the default method is to import RTR contacts as clients. In case you have specific needs regarding the brands in your Realtime Register account, contact our support department. When everything is setup correctly, click 'Next step' to continue.

- Click 'Import domains' to start the import

- All domains that were submitted in the import now have been added to WHMCS.
Auto-renew status
- Click on 'Auto-renew status and the auto renew tool opens

- Click update all domains to have the auto renew tool switch off auto-renew for all domains in your Realtime Register account
Important!
Changing the autorenew setting using the Auto-renew status tool updates the auto renew status to false in your Realtime Register account. This has nothing to do with the autorenew checkbox that can be checked/unchecked in WHMCS domain settings admin/client side.

- Once done, all domains that are eligible will have auto renew switched off

Sync expirydates
- Click 'Sync expirydates'

- Click 'Sync RTR domain expiry dates to WHMCS
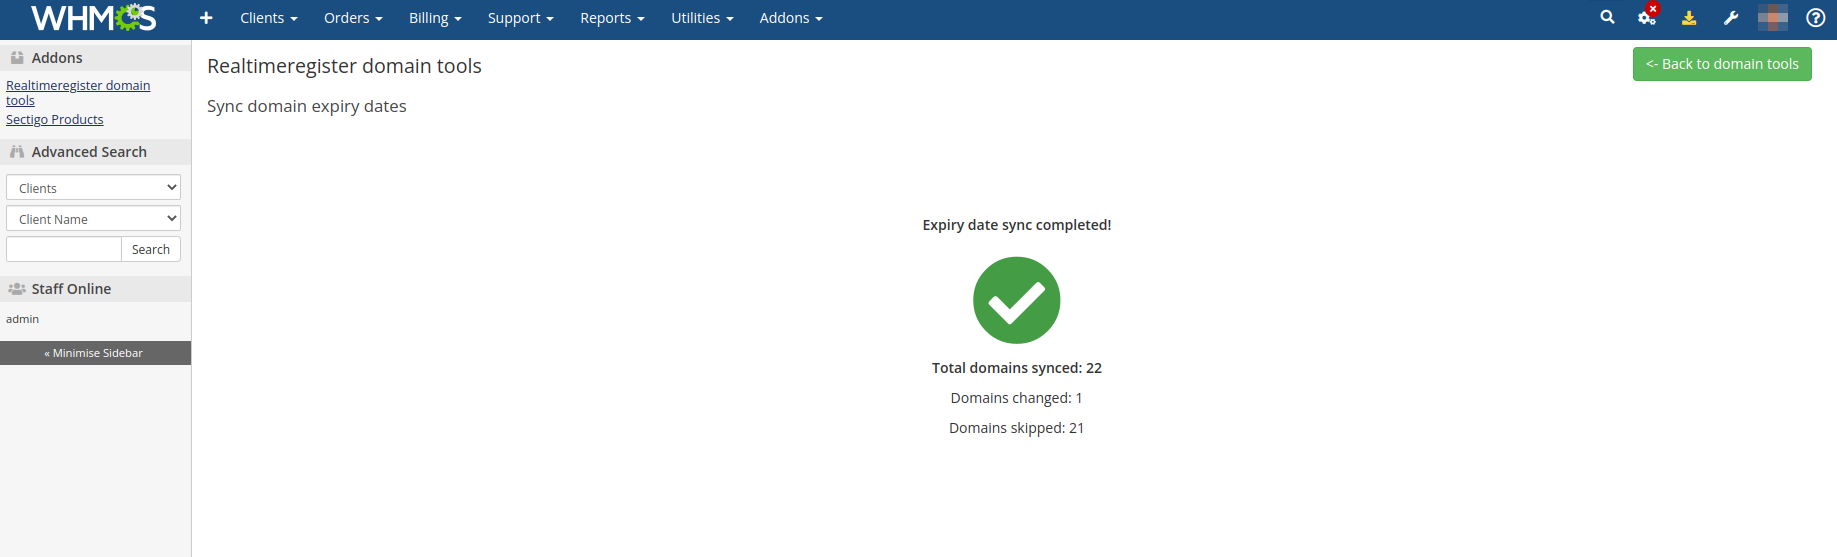
- RTR domain expirydates now have been synced to WHMCS.
Known Issues
- After updating WHMCS the Realtime Register module could replace with the default WHMCS Realtime Register module. Hot-fix: backup module files before WHMCS update, after WHMCS update finished restore module files.